
Cummins INLINE 7 Adapter driver installation tutorial:
Windows 7/8/10: confirmed!
https://www.cnautotool.com/
32 bit and 64 bit: confirmed!
How-to’s in detail….
Prior to using the INLINE 7, you have to install the necessary INLINE 7 drivers. The INLINE 7 drivers are compatible with Microsoft® Windows® 7, Windows® 8, and Windows® 10.
IMPORTANT:
you must have Administrator security rights and be logged in as “Admin” to successfully complete the installation process outlined in this manual.
The following procedure assumes that you have Internet access.
To install the drivers on your laptop or PC:
1 On your laptop or PC, navigate to the following website:
https://www.cnautotool.com/goods-6735-Cummins-INLINE-7-Data-Link-Adapter.html
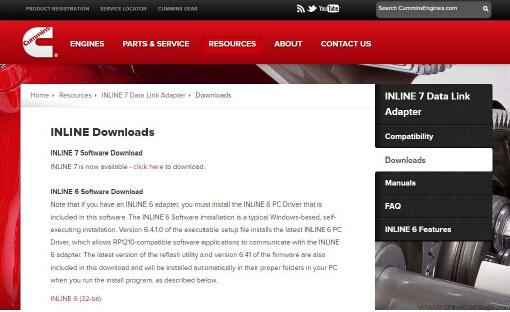
2 Select the latest version of the INLINE 7 drivers.
3 Click on Open to open the .zip file.
4 Double-click on the .exe file to run the install.
The Welcome to INLINE 7 Setup screen is displayed.
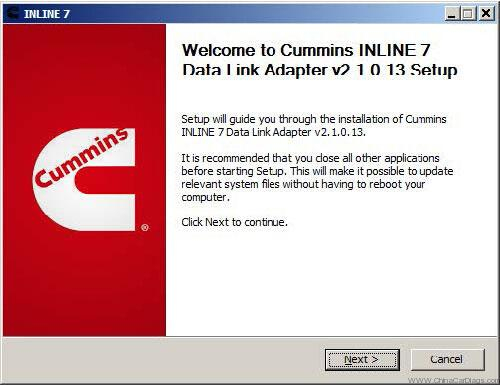
5 Carefully read the information displayed on the screen, and follow the recommendations.
6 Click on Next.
The License Agreement screen is displayed.
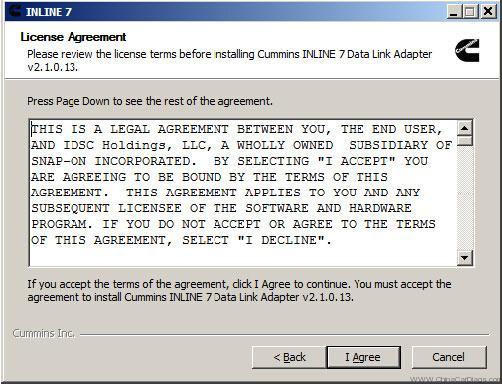
7 Read all the information on this screen, then click I Agree.
NOTE:
If you do not agree to the terms, click Cancel. A message is displayed prompting you to confirm quitting INLINE 7 Setup. Click Yes to quit.
The following warning message is displayed.
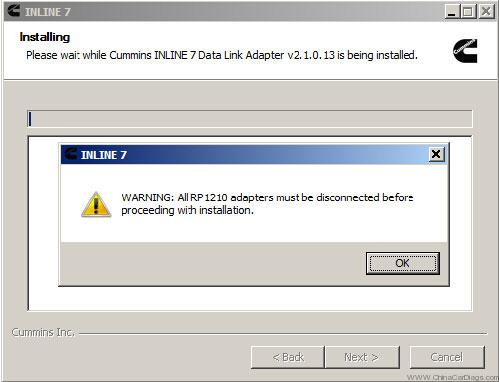
8 Carefully read the warning message, and disconnect all RP1210 adapters to which your laptop or PC might be connected prior to proceeding with the installation.
9 Once you have complied with the requirements of the warning message, click OK.
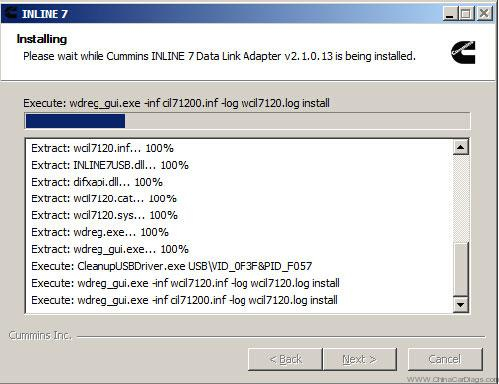
The installation begins and the following screen is displayed.
If you are running Windows® 7 or Windows® 8, the following Windows Security dialog may be displayed.
NOTE:
You may want to place a check mark in the Always trust software from “Jungo LTD” check box. If you leave it unchecked, this dialog may be displayed more than once.
10 Click Install to continue.
11 Wait briefly while the installation continues.
The Installation Complete screen is displayed.
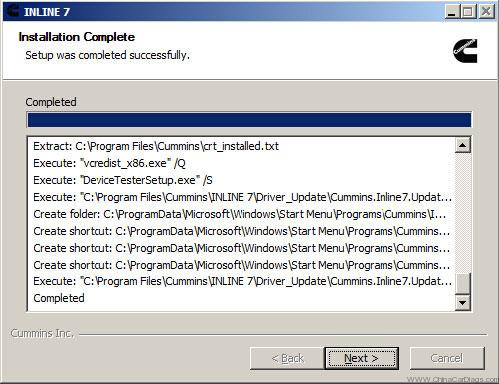
12 Click on Next.
The following completion screen is displayed.
13 Click on Finish
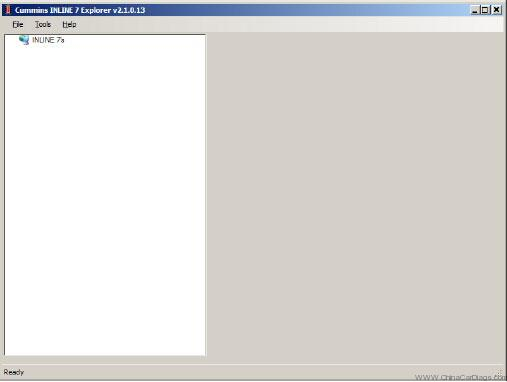
The Cummins INLINE 7 Explorer utility opens.
NOTE:
For information on using the Cummins INLINE 7 Explorer, see Using the Cummins INLINE 7 Explorer Utility on page 48 of this manual.
14 Connect the Cummins INLINE 7 to a Vehicle and a diagnostic test starts
Leave a Reply