In the world of digital signal processing, tools like the Super DSPIII Plus DSP3 and DSP3+ have become essential for professionals seeking to enhance audio quality and performance. Whether you are a sound engineer, a musician, or an audio enthusiast, understanding how to effectively use these devices can significantly improve your audio projects. In this blog post, we will delve into the key features of the Super DSPIII Plus and provide a step-by-step guide on how to use it effectively.
What is the Super DSPIII Plus DSP3 DSP3+?
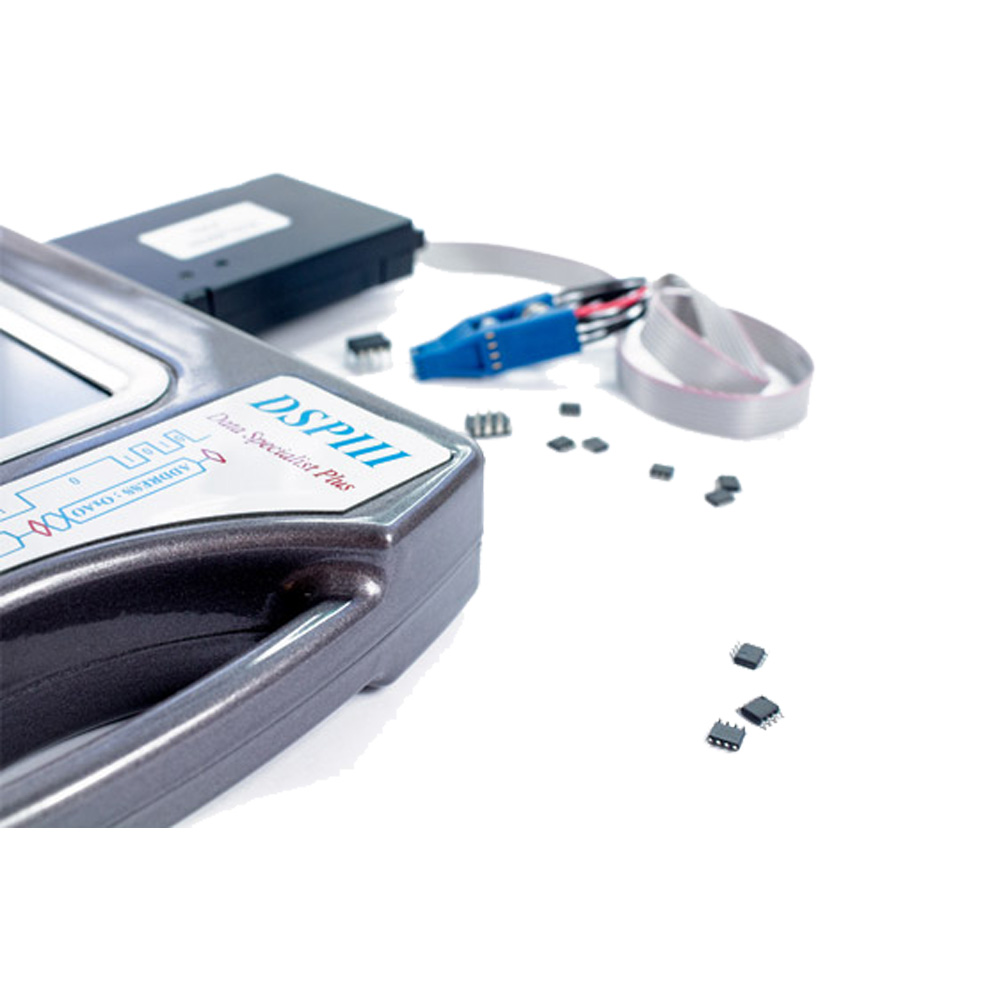
The Super DSPIII Plus DSP3 DSP3+ is a powerful digital signal processor designed for high-quality audio manipulation. It offers advanced features such as real-time processing, multiple input and output options, and a user-friendly interface. With its ability to handle complex audio tasks, it is a go-to tool for both live performances and studio recordings.
Key Features
1. High-Resolution Audio Processing: The DSP3 and DSP3+ support high-resolution audio formats, ensuring that you can work with the best quality sound.
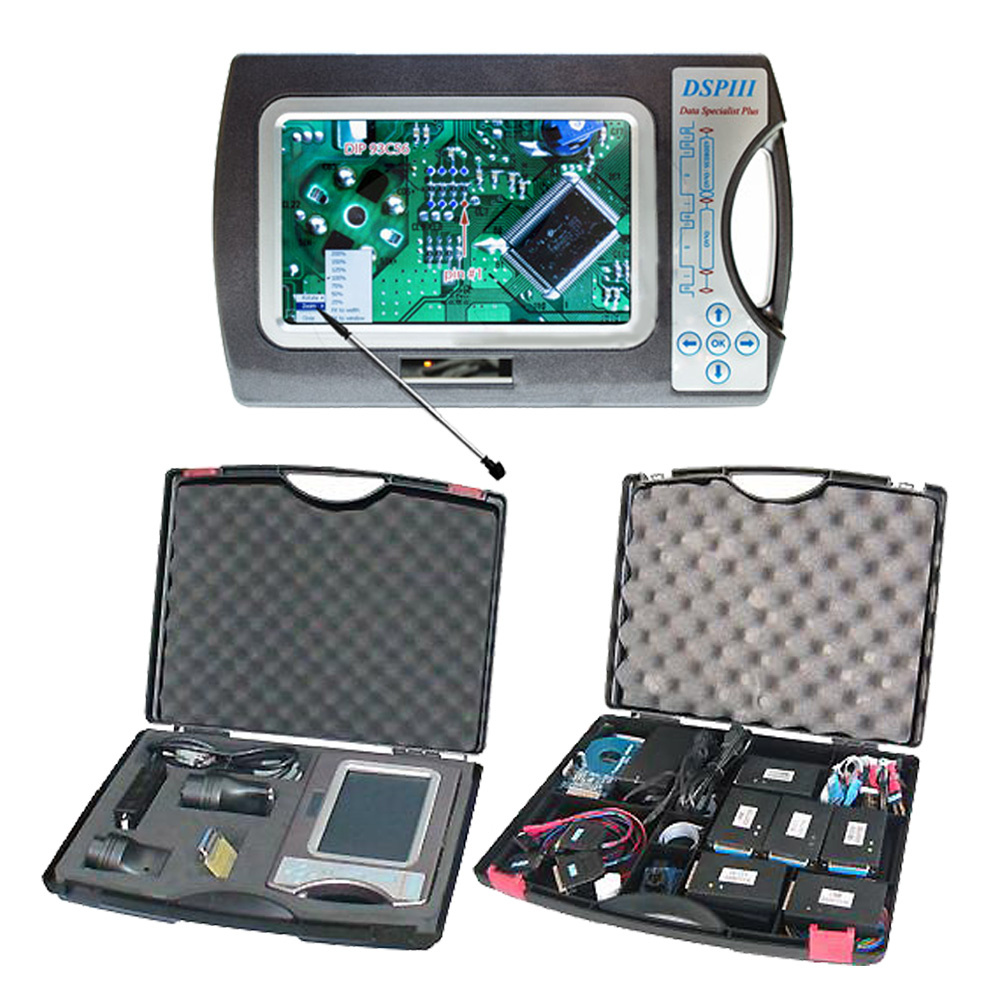
2. User-Friendly Interface: The intuitive controls and display make it easy to navigate through various settings and options.
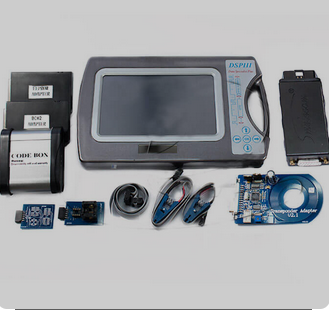
3. Versatile Connectivity: With multiple input and output channels, these devices can be integrated seamlessly into any audio setup.
4. Advanced Algorithms: The DSP3 series features cutting-edge algorithms for tasks such as equalization, compression, and reverb, allowing for precise audio shaping.
5. Preset Management: Users can save and recall presets, making it easy to switch between different setups during live performances or recordings.
Step-by-Step Guide to Using Super DSPIII Plus DSP3 DSP3+
Step 1: Setup
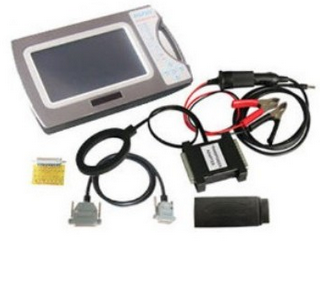
1. Connect Your Device: Begin by connecting the Super DSPIII Plus to your audio source. Use balanced XLR or TRS cables for optimal performance. Ensure that your input sources (microphones, instruments, etc.) are properly connected.
2. Power On: Turn on the device and wait for it to boot up. You should see the main interface on the display.
Step 2: Configure Input and Output
1. Select Input Source: Use the menu to select your input source. This could be a microphone, line input, or instrument. Adjust the gain levels to avoid distortion.
2. Set Output Channels: Choose your desired output channels. You can route audio to various outputs based on your needs, whether it’s for monitoring or sending a signal to another device.
Step 3: Adjust Settings
1. Access the DSP Menu: Navigate to the DSP menu to access various processing options. Here, you can apply effects such as equalization, compression, and reverb.
2. Apply Effects: Start with a basic EQ setting to enhance the frequency response of your audio. Use the built-in compressor to manage dynamics. Experiment with reverb settings to add depth to your sound.
3. Fine-Tune Parameters: Each effect will have adjustable parameters. Take your time to tweak these settings to achieve the desired sound. Use the visual feedback from the device to monitor changes in real-time.
Step 4: Save Presets
1. Save Your Setup: Once you have achieved your desired sound, save your settings as a preset. This allows you to quickly recall your configuration for future use.
2. Name Your Preset: Give your preset a descriptive name to easily identify it later.
Step 5: Testing and Fine-Tuning
1. Conduct a Sound Check: Before a live performance or recording session, conduct a sound check to ensure everything is working as intended. Make any necessary adjustments to levels or effects.
2. Monitor Performance: During use, keep an eye on the output levels and make adjustments as needed. The real-time monitoring feature allows you to catch any issues before they become problematic.
The DSP3 Odometer Correction OBD Tool is an invaluable tool for anyone working with audio. By following the steps outlined above, you can harness the full potential of this powerful digital signal processor. With practice and experimentation, you’ll be able to create exceptional soundscapes that elevate your audio projects to new heights. Whether in the studio or on stage, mastering the Super DSPIII Plus will undoubtedly enhance your audio experience. Happy mixing!
Leave a Reply