The WABCO DIAGNOSTIC KIT is a professional tool designed for diagnosing and troubleshooting issues related to WABCO air brake and suspension systems. Here are the general steps for using the WABCO DIAGNOSTIC KIT:
1. Connect the diagnostic kit to the vehicle: The WABCO DIAGNOSTIC KIT comes with a cable that connects to the diagnostic port on the vehicle. Locate the diagnostic port, usually under the dashboard or near the engine, and plug in the cable.
2. Turn on the ignition: Turn on the vehicle’s ignition to power up the diagnostic kit.
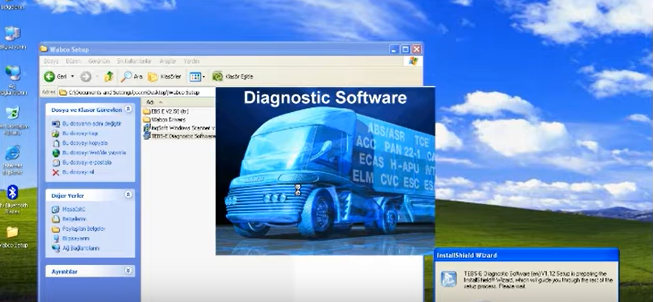
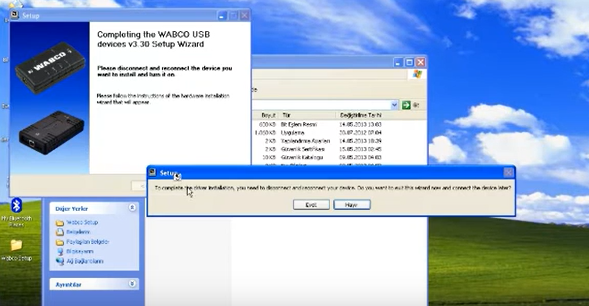
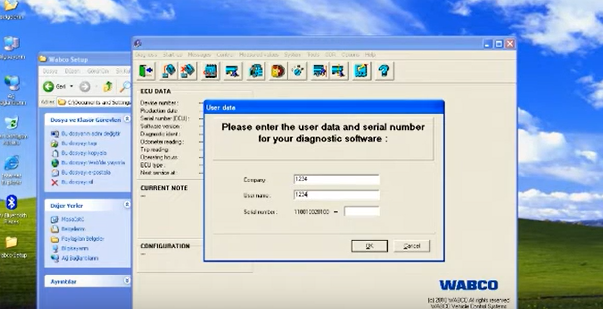
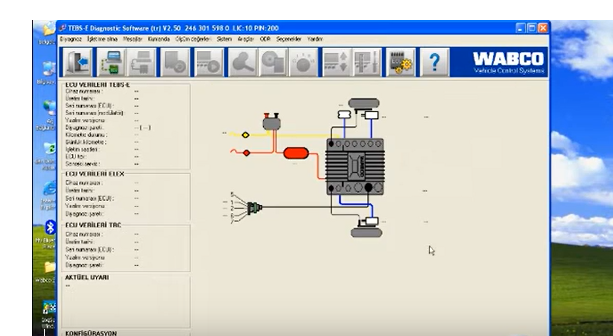
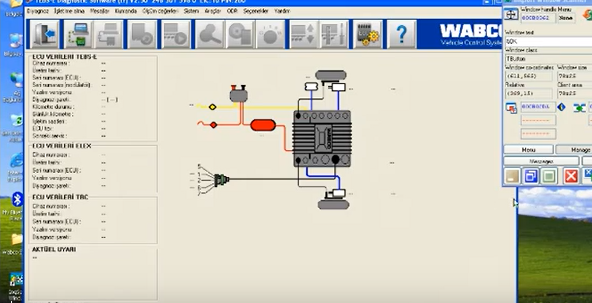
3. Launch the diagnostic software: Install the diagnostic software on your computer and launch it. The software will automatically recognize the diagnostic kit and connect to the vehicle’s system.
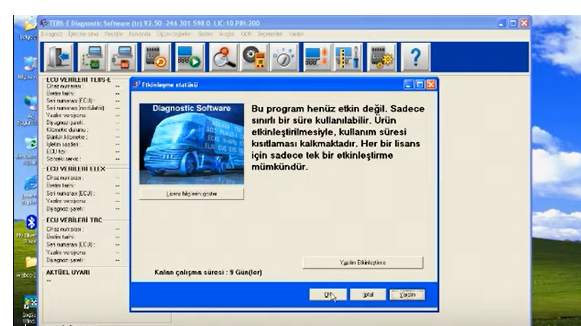
4. Perform a system scan: Select the appropriate vehicle make and model from the menu and perform a system scan. The software will retrieve any fault codes stored in the vehicle’s system and display them on the screen.
5. Interpret the results: Analyze the fault codes to identify the problem with the air brake or suspension system. The software will provide a description of each fault code, along with recommended repair procedures.
6. Perform repairs: Follow the recommended repair procedures to fix the issue with the air brake or suspension system.
7. Clear fault codes: Once the repairs are complete, use the diagnostic kit to clear any fault codes stored in the system. This will reset the system and ensure that the issue has been resolved.
It’s important to note that the WABCO DIAGNOSTIC KIT is a specialized tool designed for professional use. If you’re not familiar with the system or don’t have the necessary expertise, it’s recommended to seek the assistance of a qualified technician.
Leave a Reply